Step one: the free estimate
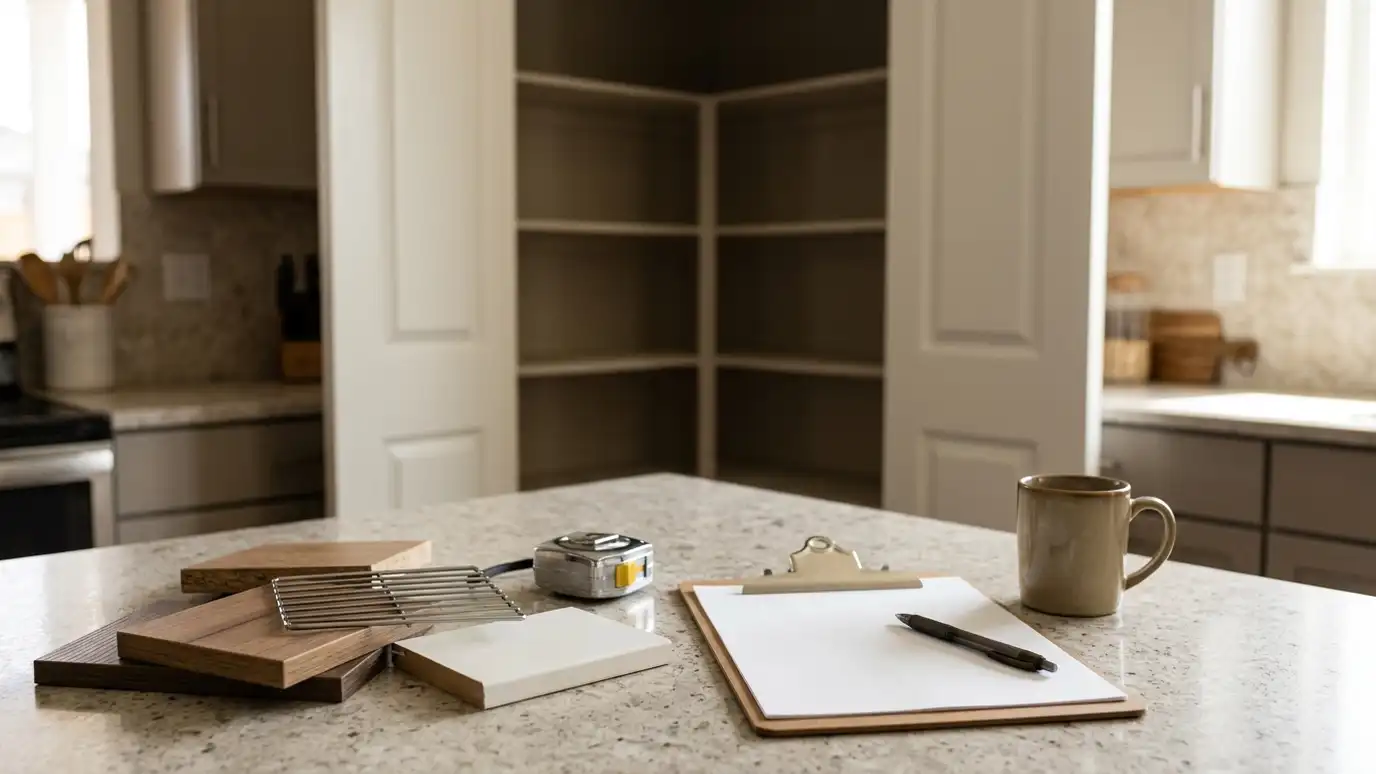
Every project starts with a visit, where the designer looks at your space, takes rough measurements and talks through how you cook, shop and entertain. You leave with ideas and a written estimate that lists what is included and what is not.
This is also the moment to raise questions about timing, access, pets and appliances. A good visit saves a lot of surprises later.
Preparing a few photos, a rough list of what you store and a note about your priorities makes this visit far more productive. It also gives the designer a head start on ideas that suit your household.
Step two: measuring and evaluation
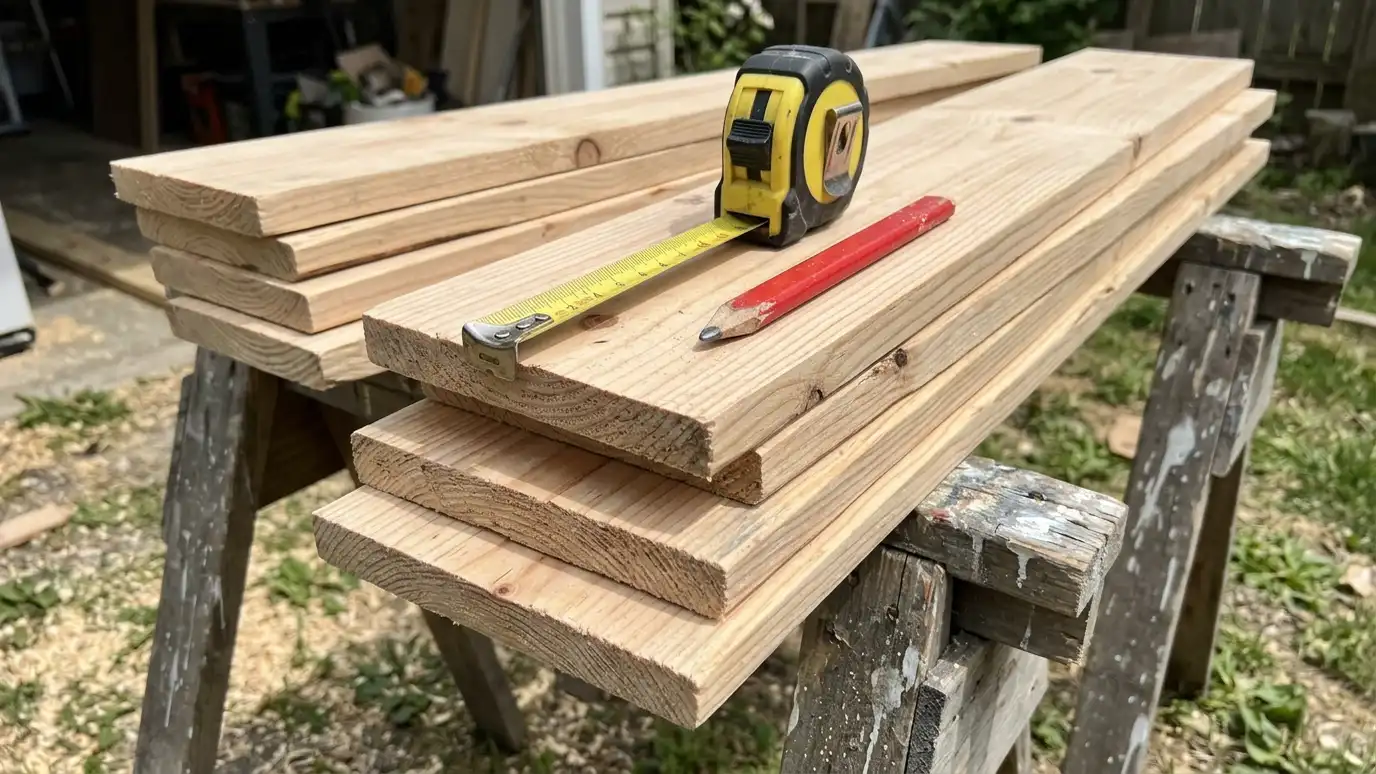
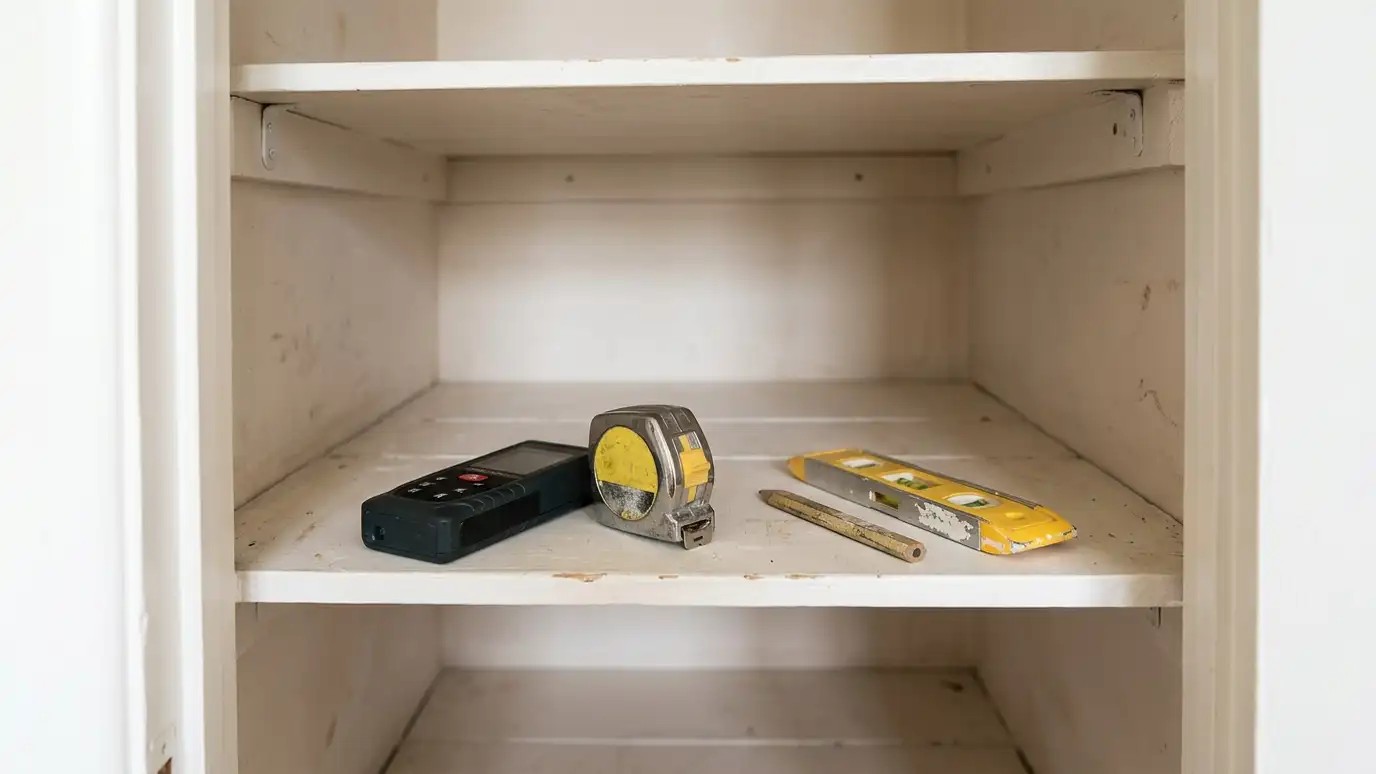
Next comes a careful measure of the space. Width, height and depth are taken at several points, and walls are checked for square and plumb. Studs, outlets, vents and heat sources are located and noted.
This step protects the design from the quirks of real houses, where almost nothing is perfectly straight.
Measurements are taken in more than one place for a reason. A wall that looks straight can vary by half an inch or more, and that difference decides whether a shelf slides in easily or has to be forced.
Step three: design and approval
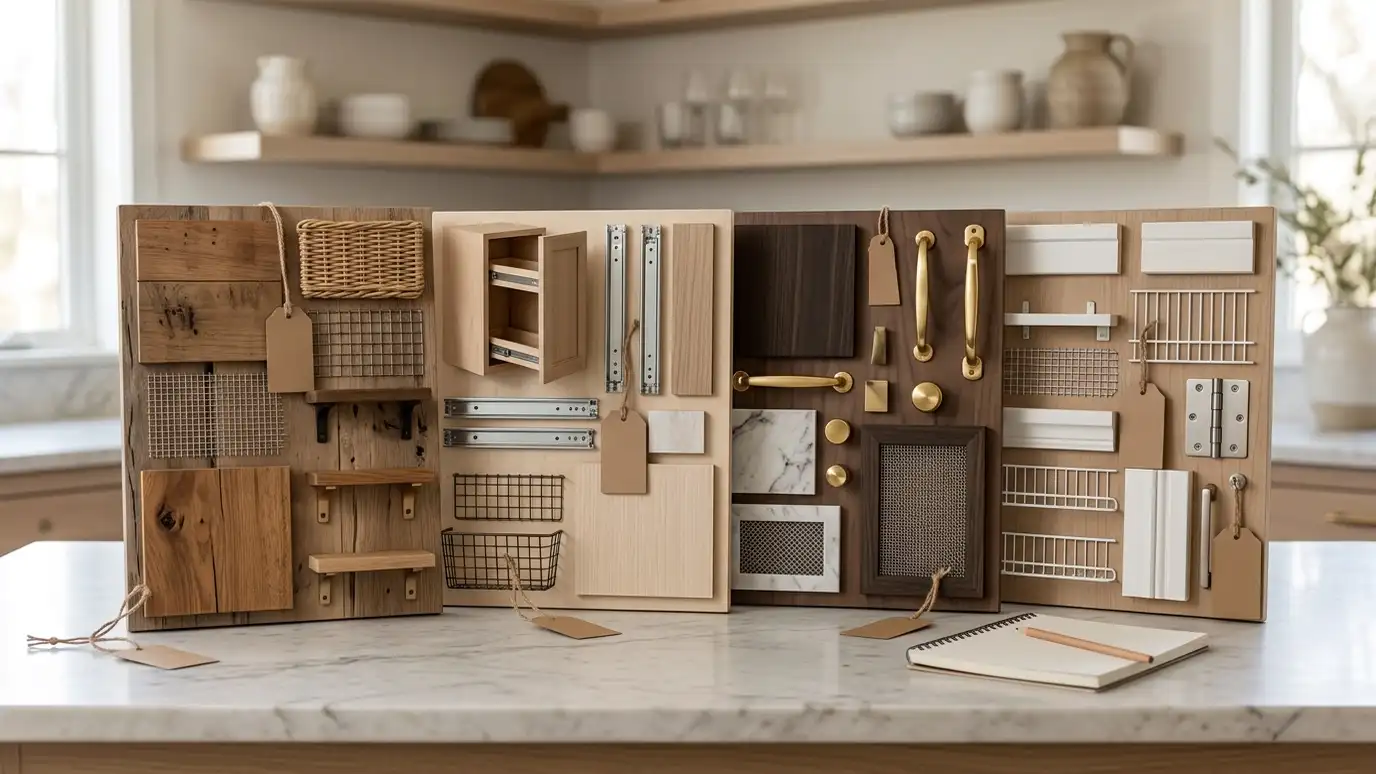
The layout, shelf depths, spacing, door style, lighting and finishes are drawn and reviewed with you. Many owners also like a taped layout on the wall or a 3D view. Changes are easy at this stage, and costly later.
You approve the plan in writing, and the materials list and schedule are confirmed.
Ask to see the plan in more than one form if you can. A drawing, a taped layout on the wall and a simple 3D view each reveal different problems, and catching them now costs almost nothing.
Step four: materials and scheduling
Materials and hardware are ordered, with special items such as doors and custom finishes ordered early because they take longest. A schedule lists each step, what you need to do and when other trades will visit.
Your installer should keep you updated if lead times change.
Long-lead items such as custom doors, special finishes and imported hardware are worth ordering first. Placing those orders early keeps the schedule predictable and avoids a half-finished pantry waiting on one missing piece.
Step five: preparation
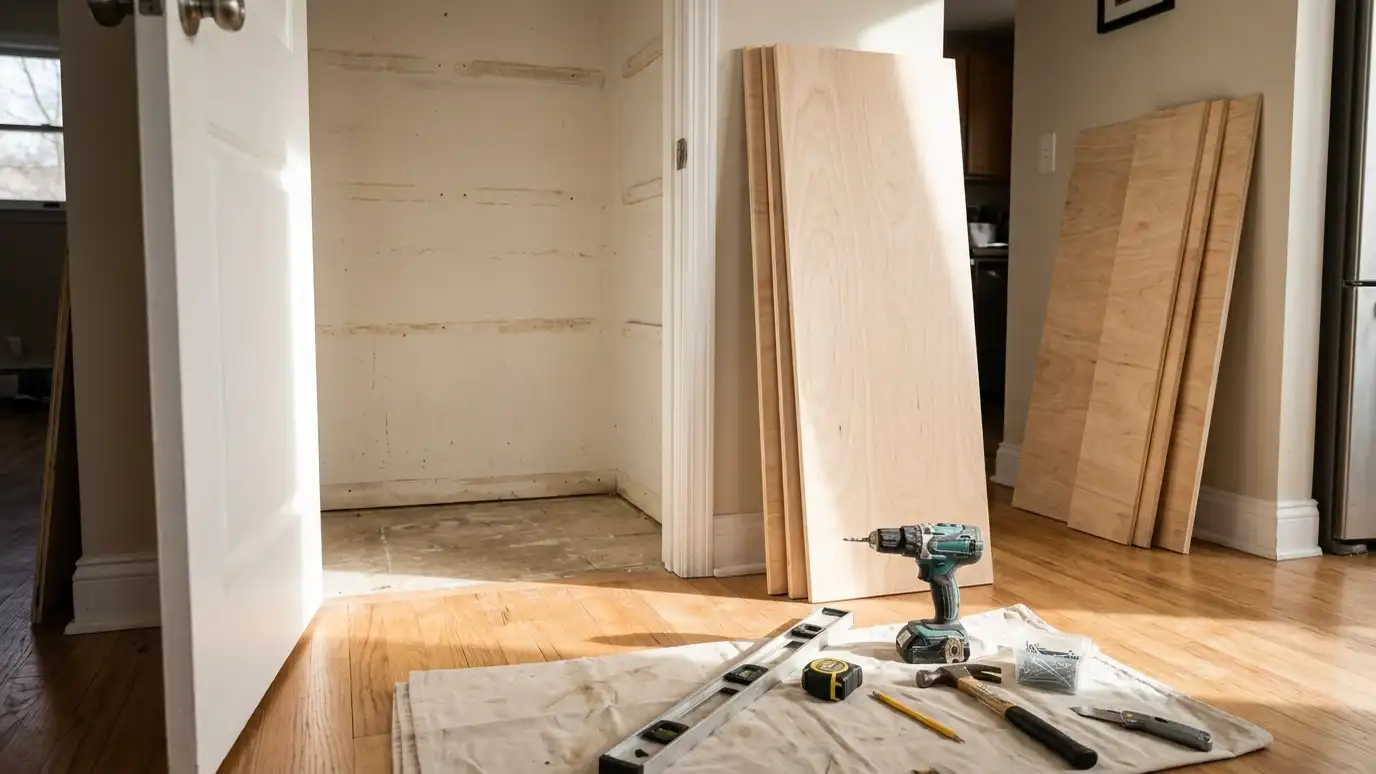
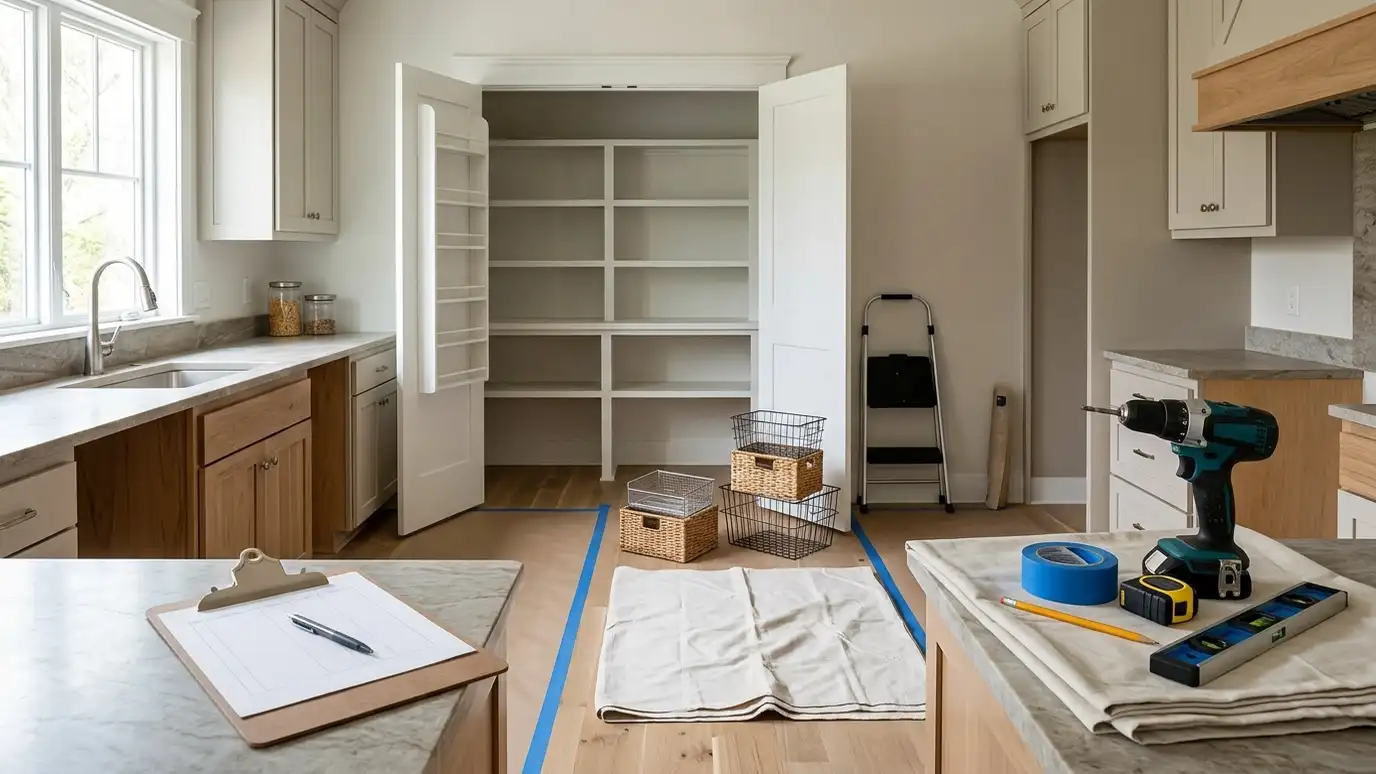
The space is cleared, floors and nearby surfaces are protected and old shelves, rods or doors are removed. Walls are repaired and painted where needed, and any electrical work is done by a qualified electrician.
If hidden issues appear, such as moisture or damage, you will be told before work continues.
Clearing the pantry before the crew arrives is the best help you can give. Having the shelves empty and the path to the room open saves hours and lets the team focus on careful work rather than moving boxes.
Step six: installation
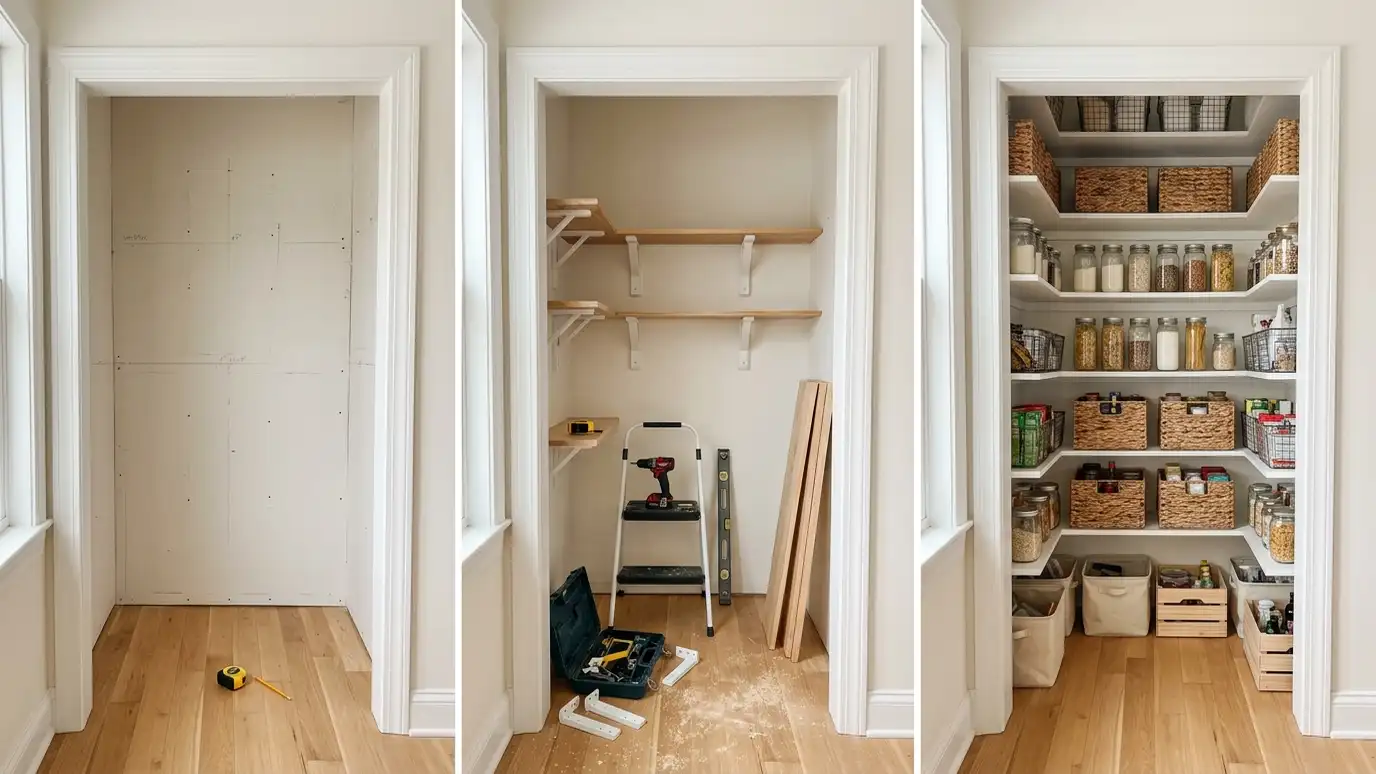
Shelving, cabinets, drawers and doors are installed level and tight, with anchors in the studs. Trim and hardware go on, lights are connected and adjustments are made. A good crew works carefully, protects the home and cleans as they go.
Many pantries are installed in one to three days, depending on size and finishes.
During installation, small decisions often come up, such as the exact height of a shelf or the position of a hook. Being reachable that day lets the crew make the right call quickly and keeps everything moving.
Step seven: walkthrough and care
At the end you walk through the pantry with the installer, test the doors and drawers and receive care tips. This is the moment to point out anything you would like adjusted.
Keep your installer's contact information, since a good company is available if anything needs attention later.
Take a few photos of the finished pantry and keep any care sheets, paint codes and hardware names. That small file makes future repairs, touch-ups and additions simple, even years from now.
Expect seven steps, make decisions before materials are ordered and ask for a written schedule so you know what happens when.